Install your eSIM in under 2 minutes.
Install on iPhone.
Requires iOS 14 or later. Make sure your phone is connected to Wi-Fi before you start.
- 1
Open Settings
Settings → Cellular → Add eSIM
On iOS 16+ tap Set Up eSIM. On iOS 14–15, tap Add Cellular Plan. Your phone may take a few seconds to load the eSIM setup screen.Tip: If you don’t see “Add eSIM,” your iPhone may be carrier-locked. Contact your home carrier to unlock it.
- 2
Pick your method
Choose “Use QR Code”
If the camera won’t focus, tap Enter Details Manually and paste the SM-DP+ address and activation code from your confirmation email. - 3
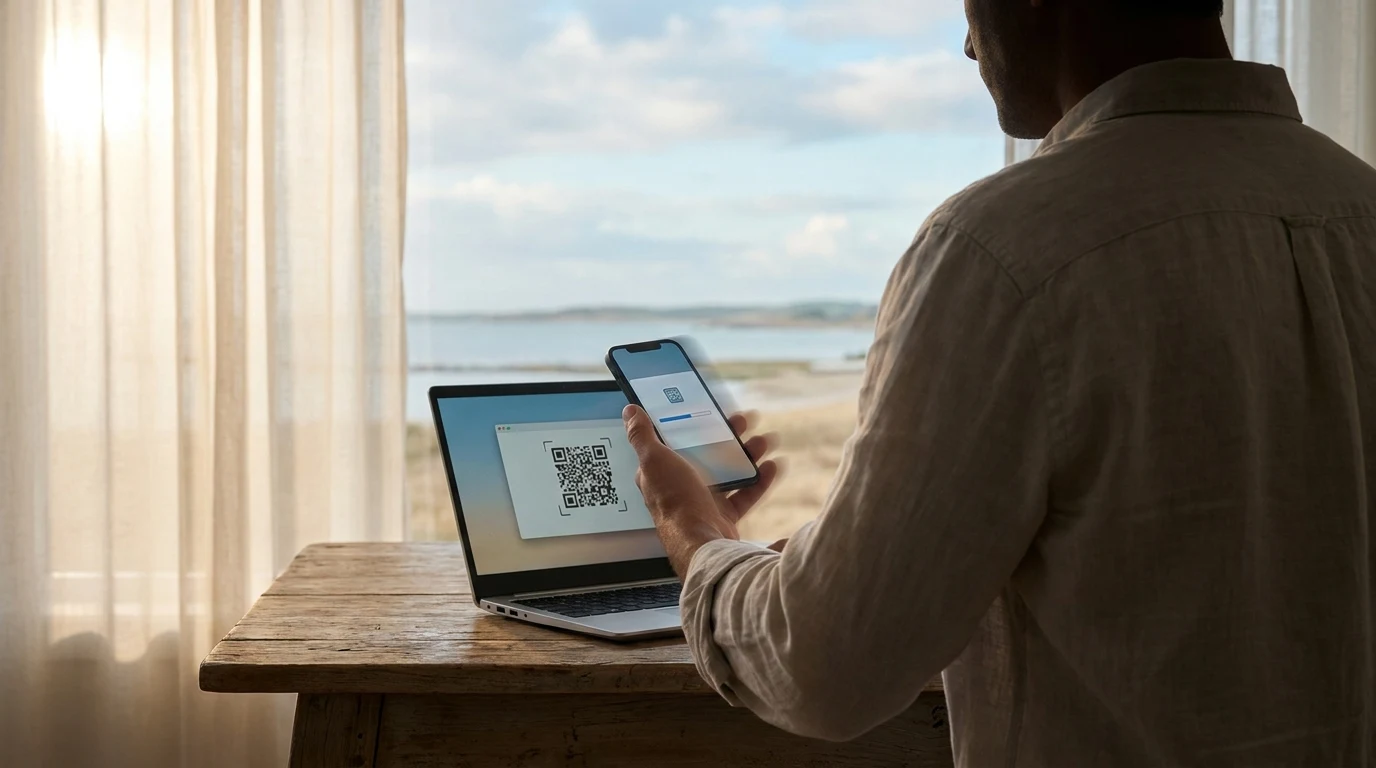
Scan
Scan the QR from your confirmation email
Open the email on a laptop or second device, then hold your phone steady about six inches away. The profile downloads in about 20 seconds.Tip: Can’t open the email on a second screen? Forward it to a friend, or paste the activation code manually — same result.
- 4
Label it
Name your plan something memorable
We recommendesimple Japan(or whichever country) — it makes finding the right line easy when you switch between data plans on a multi-country trip. - 5
Activate
When you land, turn on the line and Data Roaming
Settings → Cellular → tap your esimple plan → toggle Turn On This Line and Data Roaming. Then set Cellular Data to esimple.Tip: Data Roaming sounds scary, but esimple has zero roaming fees — your iPhone just needs that flag set to use a foreign network.
Install on Android.
Wording varies slightly by manufacturer. Samsung and Pixel are the most common — instructions for both are below.
- 1
Open Settings
Settings → Network & Internet → SIMs → +
Samsung: Settings → Connections → SIM manager → Add eSIM. OnePlus / Oppo: Settings → Wi-Fi & network → SIM & network. - 2
Choose download
Tap “Download a SIM instead?”
Allow camera permission when prompted. Samsung users will see “Add using QR code” instead. - 3
Scan + confirm
Scan the QR, then tap Download
The profile downloads in about 20 seconds. Tap Settings after install completes — your eSIM appears in your SIM list. - 4
Label it
Give the eSIM a clear name
Most Androids call it “SIM nickname.” Use the destination country so you can tell it apart from your home SIM at a glance. - 5
Activate
Land, then set esimple as your data SIM
SIMs → tap esimple → enable Use SIM, set Mobile data to esimple, and enable Roaming for the esimple line specifically.
Troubleshooting common issues.
If you hit one of these, you’re not alone — most can be fixed in under a minute.
The QR code won’t scan
Open your email on a second device and scan from that screen. Or paste the SM-DP+ address and activation code manually from your confirmation email — same result.
Profile downloads but won’t activate
You need to be in the destination country — most carriers won’t release the profile until your phone touches a local network. Wait until you’ve landed, then toggle Data Roaming on.
“No service” after I land
Restart your phone first. If still no service, check that Data Roaming is enabled for the esimple line specifically — not just your default line.
I deleted the eSIM by mistake
Contact support with your order ID — we can re-issue the same profile within a few hours, free of charge. Most eSIMs allow up to three re-installs.
Still stuck?
Email support@esimple.ai with your order ID and what's happening. A real human replies within a few hours.